Creating a coin in maya

Create a coin 3D model part 1

This tutorial will show you how to create very realistic coin using only maya 3d.


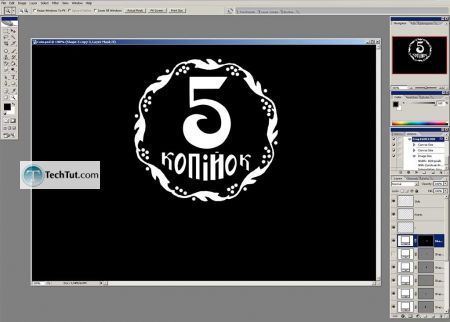
Now we must create black and white map:

Tutorial Create a coin 3D model part 1 2


Crop it it's must like this:

Tutorial Create a coin 3D model part 1 3


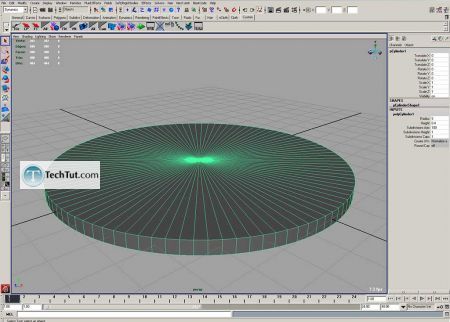
Go to Maya and create polygon cylinder
Set radius 5, height 0.4, division 100:

Tutorial Create a coin 3D model part 1 4


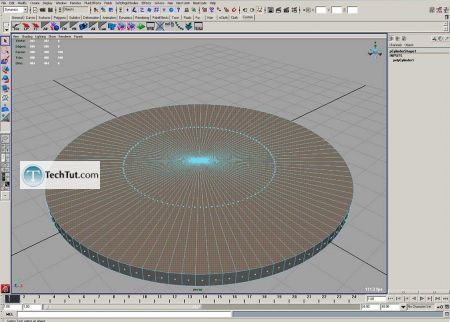
Select faces:

Tutorial Create a coin 3D model part 1 5


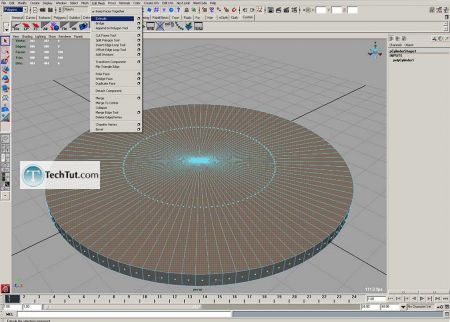
Make extrude:

Tutorial Create a coin 3D model part 1 6


Tutorial Create a coin 3D model part 1 7


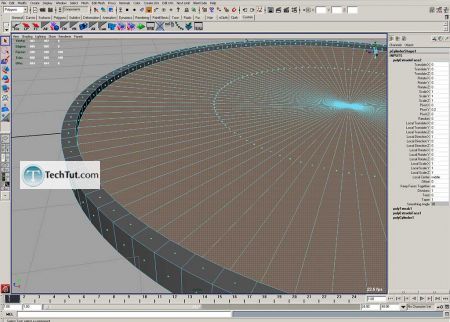
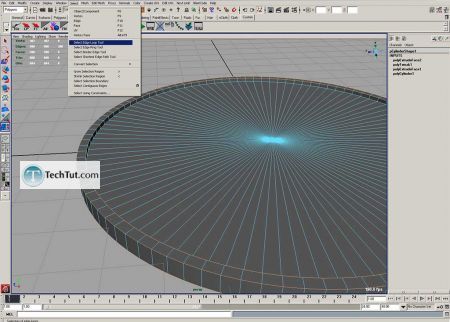
With edge loop tool select border edges:

Tutorial Create a coin 3D model part 1 8


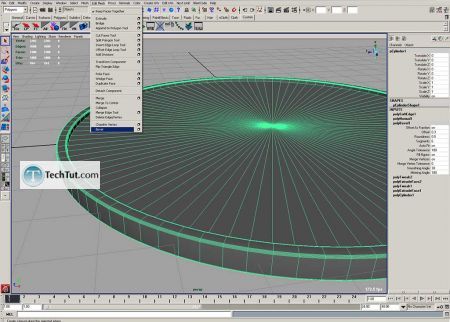
Make bevel, offset 0.3, segment 6:

Tutorial Create a coin 3D model part 1 9


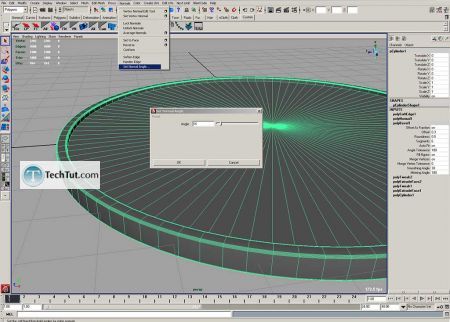
Set normal angle for 15:

Tutorial Create a coin 3D model part 1 10


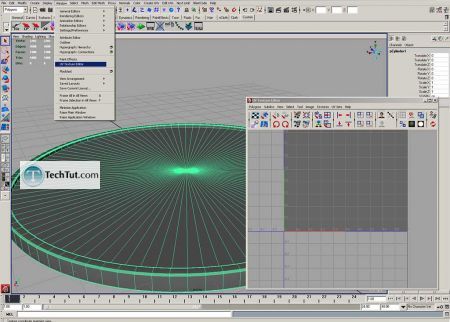
Open UV editor:

Tutorial Create a coin 3D model part 1 11

Comments

Popular posts from this blog

Modelling Tools In Maya

By now you should know how to create a polygon primitive and begin modifying its shape by pushing and pulling edges, faces, and vertices . That's a step in the right direction, but it's really only part of the battle—it's virtually impossible to create a highly complex model from a basic primitive without making wholesale alterations to the mesh. To truly begin making finished 3D pieces , we need to learn how to modify the topology of our model by adding faces and edges where we need more detail or control. There are literally dozens of different tools in Maya's modeling shelf, but many of them are only useful in specific situations. In practice, you'll probably spend 90% of your time using the same five or six commands. Instead of introducing every single tool Maya has to offer and having you forget how to use half of them, in the next few lessons we'll take a look some of the most commonly used techniques in Maya's polygon workflow. Insert E...

Selection & Duplication In Maya

Selection Modes Let's continue by discussing the different selection options in Maya. Place a cube in your scene and click on it—the cube's edges will turn green, indicating that the object has been selected. This type of selection is called Object Mode . Maya has a number of additional selection types, and each one is used for a different set of operations. To access Maya's other selection modes, hover your mouse pointer over the cube and then click and hold the right mouse button (RMB) . A menu set will appear, revealing the Maya's component selection modes— Face , Edge , and Vertex being the most important. In the fly menu, move your mouse to the Face option and release the RMB to enter face selection mode. You can select any face by clicking its center point and can then use the manipulator tools we learned in the previous lesson to modify the shape of the model. Select a face and practice moving, scaling, or rotating it like we've done in the e...

The Extrude Tool In Maya

Extrusion Extrusion is our primary means of adding additional geometry to a mesh in Maya. The extrude tool can be used on either faces or edges, and can be accessed at Mesh → Extrude , or by pressing the extrude icon in the polygon shelf at the top of the viewport (highlighted in red in the image above). Take a look at the image we've attached for an idea of what a very basic extrusion looks like. On the left we started with a plain old default cube primitive. Switch into face mode, select the upper face, and then press the extrude button in the polygon shelf. A manipulator will appear, which looks like an amalgamation of the translate, scale, and rotate tools. In a sense it is—after performing an extrusion, it is essential that you either move, scale, or rotate the new face so that you don't end up with overlapping geometry (more on this later). For this example, we simply used the blue arrow to translate the new faces a few units in the positive Y direction. N...