creating a coin part three

Create a coin 3D model render


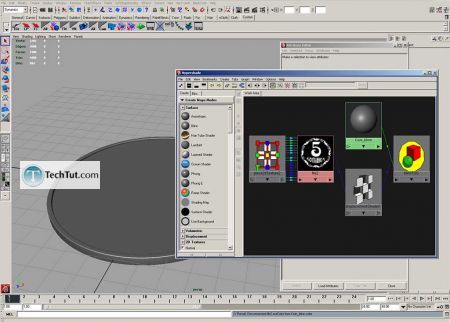
Disconnect file from color
Select arrow and hit delete button:
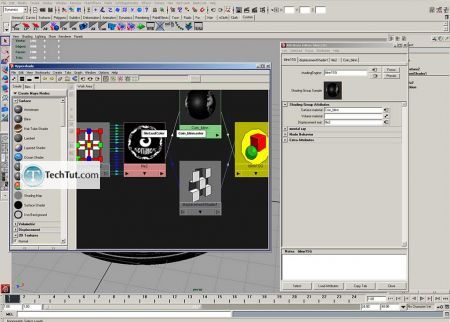
Tutorial Create a coin 3D model render 1


Tutorial Create a coin 3D model render 2


Now if you render it with mental ray, it's will be something like this:
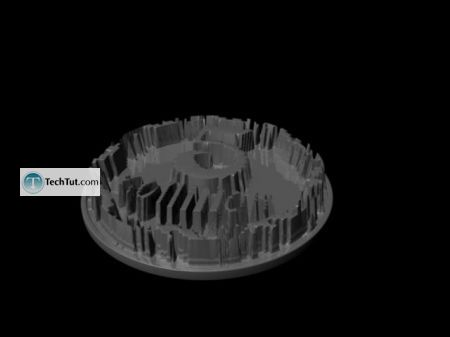
Tutorial Create a coin 3D model render 3


So what we need to do is create approximation for displacement
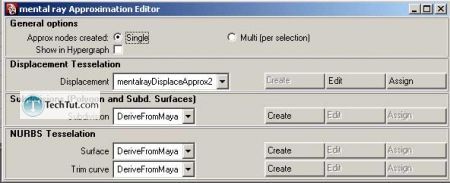
Open Approximation editor:
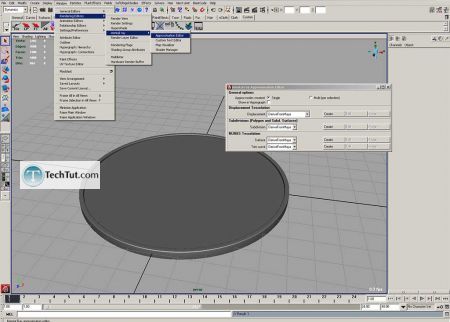
Tutorial Create a coin 3D model render 4


Click create button:

Tutorial Create a coin 3D model render 5


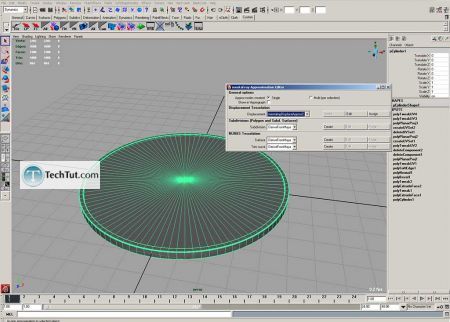
Select coin and click assign button:

Tutorial Create a coin 3D model render 6


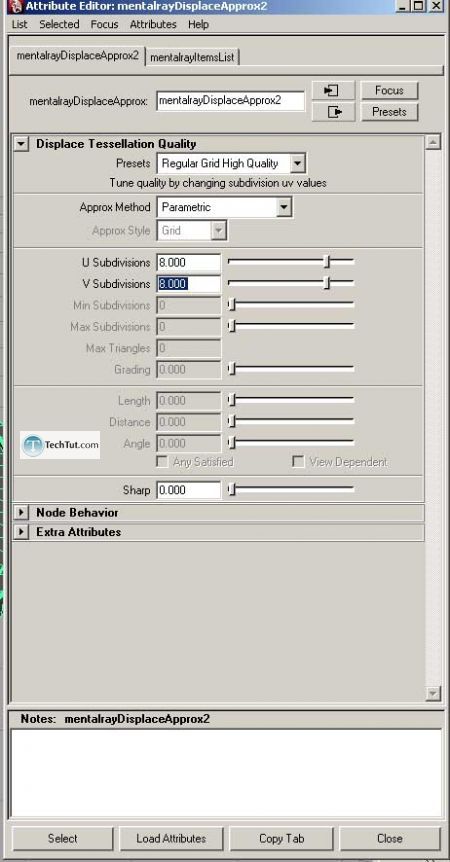
Now click edit button and adjust it:

Tutorial Create a coin 3D model render 7


Also open file node with our texture and decrease alpha gain:
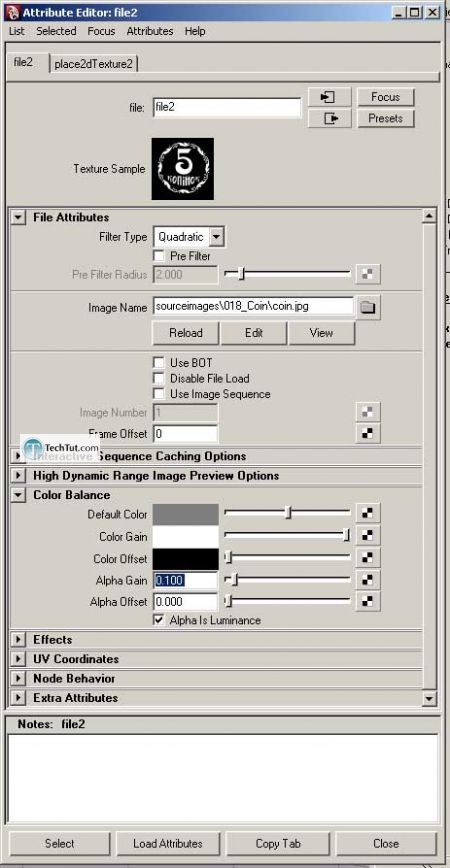
Tutorial Create a coin 3D model render 8


Try to render, you can see there it's very low details:
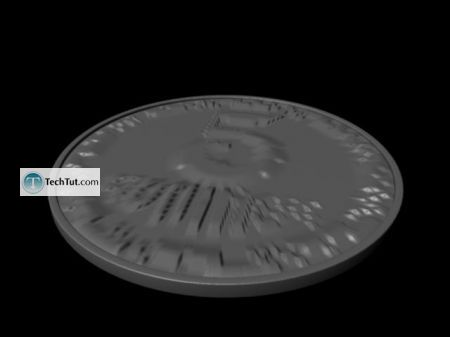
Tutorial Create a coin 3D model render 9


So we need to add details to geometry, I made it's simply by extruding faces, and scale them down
Also you will need to create new UV (just repeat steps as shown above):
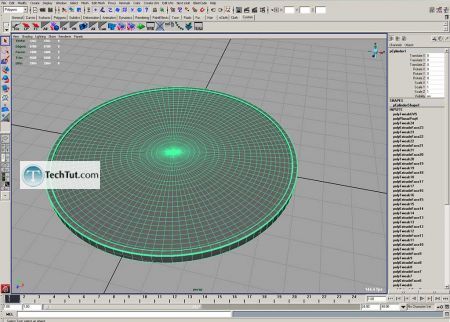
Tutorial Create a coin 3D model render 10


Now try to render
I also set alpha gain a little lower value, 0.03
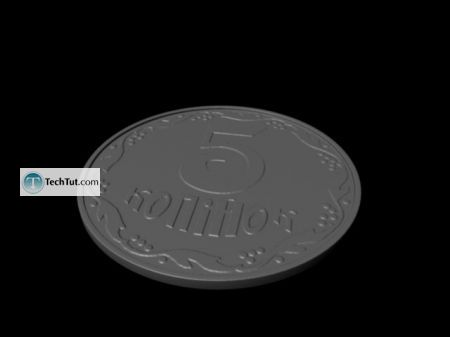
Tutorial Create a coin 3D model render 11


So finally tweak blinn as metal and make final render:
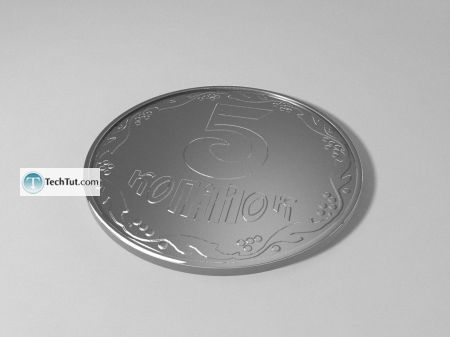
Tutorial Create a coin 3D model render 12

Comments

Popular posts from this blog

Modelling Tools In Maya

By now you should know how to create a polygon primitive and begin modifying its shape by pushing and pulling edges, faces, and vertices . That's a step in the right direction, but it's really only part of the battle—it's virtually impossible to create a highly complex model from a basic primitive without making wholesale alterations to the mesh. To truly begin making finished 3D pieces , we need to learn how to modify the topology of our model by adding faces and edges where we need more detail or control. There are literally dozens of different tools in Maya's modeling shelf, but many of them are only useful in specific situations. In practice, you'll probably spend 90% of your time using the same five or six commands. Instead of introducing every single tool Maya has to offer and having you forget how to use half of them, in the next few lessons we'll take a look some of the most commonly used techniques in Maya's polygon workflow. Insert E...

Selection & Duplication In Maya

Selection Modes Let's continue by discussing the different selection options in Maya. Place a cube in your scene and click on it—the cube's edges will turn green, indicating that the object has been selected. This type of selection is called Object Mode . Maya has a number of additional selection types, and each one is used for a different set of operations. To access Maya's other selection modes, hover your mouse pointer over the cube and then click and hold the right mouse button (RMB) . A menu set will appear, revealing the Maya's component selection modes— Face , Edge , and Vertex being the most important. In the fly menu, move your mouse to the Face option and release the RMB to enter face selection mode. You can select any face by clicking its center point and can then use the manipulator tools we learned in the previous lesson to modify the shape of the model. Select a face and practice moving, scaling, or rotating it like we've done in the e...

Object Manipulation In Maya

Object Manipulation Tools   So now you know how to place an object in your scene and modify some of its basic attributes. Let's explore some of the ways we can change its position in space. There are three basic forms of object manipulation in any 3D application —translate (or move), scale, and rotate. Obviously, these are all operations that sound relatively self-explanatory, but let's take a look at some of the technical considerations. There are two different ways to bring up the translate, scale, and rotate tools: First, they can be accessed from the toolbox panel (pictured above) on the left side of your viewport. The second (preferred method) is to use keyboard hotkeys. During the modeling process , you'll be switching between tools constantly, so it's a good idea to learn the commands as quickly as possible. With an object selected, use the following hotkeys to access Maya's translate, rotate, and scale tools: Translate - w . Rotate - e...