Select empty UV set:
Grab top central vertex:
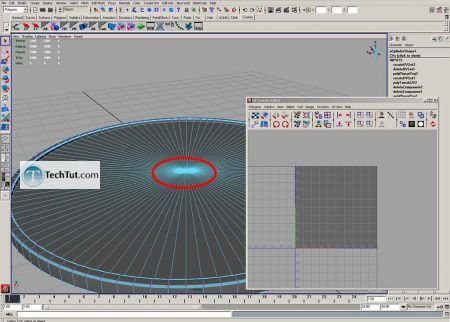
Press Ctrl+F11
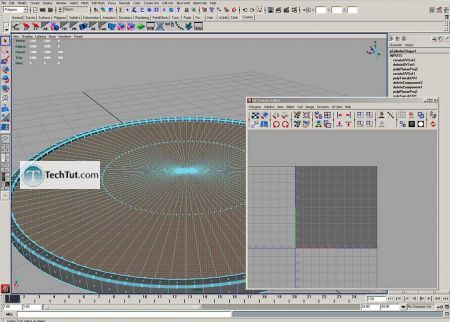
Create new UVs:
Create new blinn material:
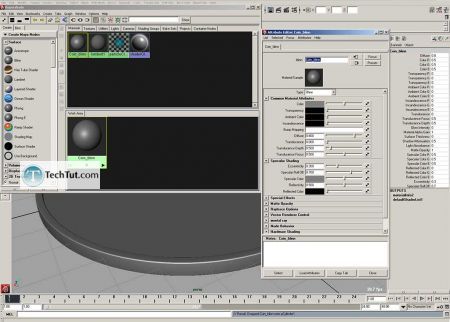
Connect to color our texture that we created:
Click on checkers opposite to Color, and choose file node
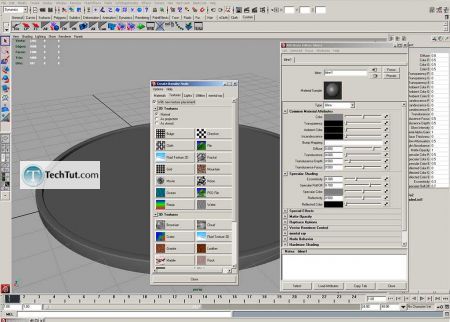
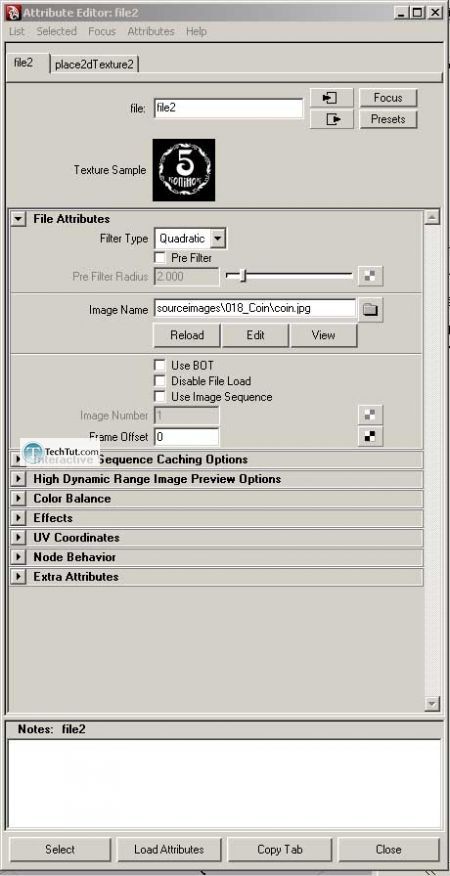
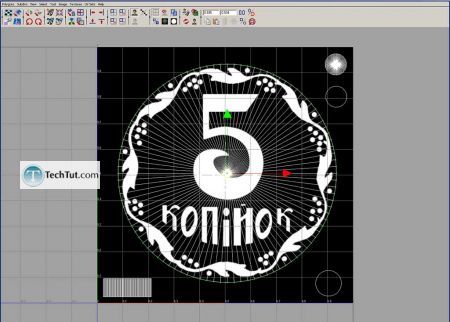
Load texture:
Assign it to coin
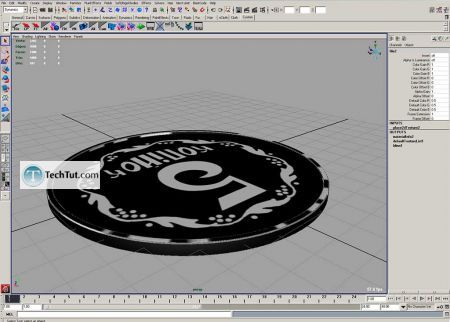
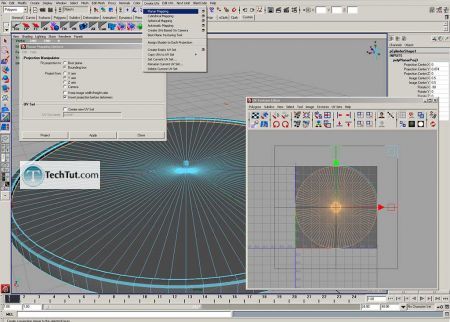
Open UV editor and move UVs as on picture:
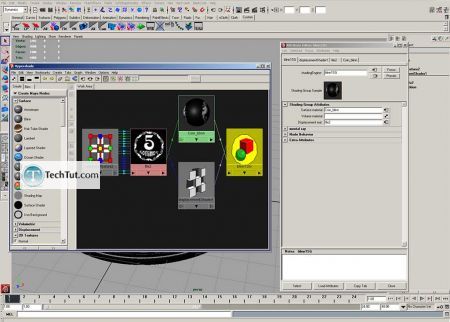
Select blinn1SG and drag file node to Displacement mat.:

Grab top central vertex:

Press Ctrl+F11

Create new UVs:

Create new blinn material:

Connect to color our texture that we created:
Click on checkers opposite to Color, and choose file node

Load texture:

Assign it to coin

Open UV editor and move UVs as on picture:

Select blinn1SG and drag file node to Displacement mat.:

Comments
Post a Comment